Step 1
Cut the aluminium sheet to size using the guillotine.

Step 2
Using some cylindrical tools, mark out rounded corners around the outside perimeter of the tray. Then, mark out straight guidelines to show the height of the tray walls. Using the same cylindrical tools for the outer corners, join the lines created by marking a rounded corner. Make sure both your piece and your partner's piece are exactly the same.

Step 3
Cut the rounded corners out using tin snips.

Step 4
Create a template out of timber that would be the exact size required for the inside of the tray. This would ensure that the size and shape of the tray is as accurate as possible. Make sure that the thickness of the timber is greater than the wall thickness.

Step 5
Hold the template against the aluminium piece in the exact location required and secure the pieces together in a clamp.

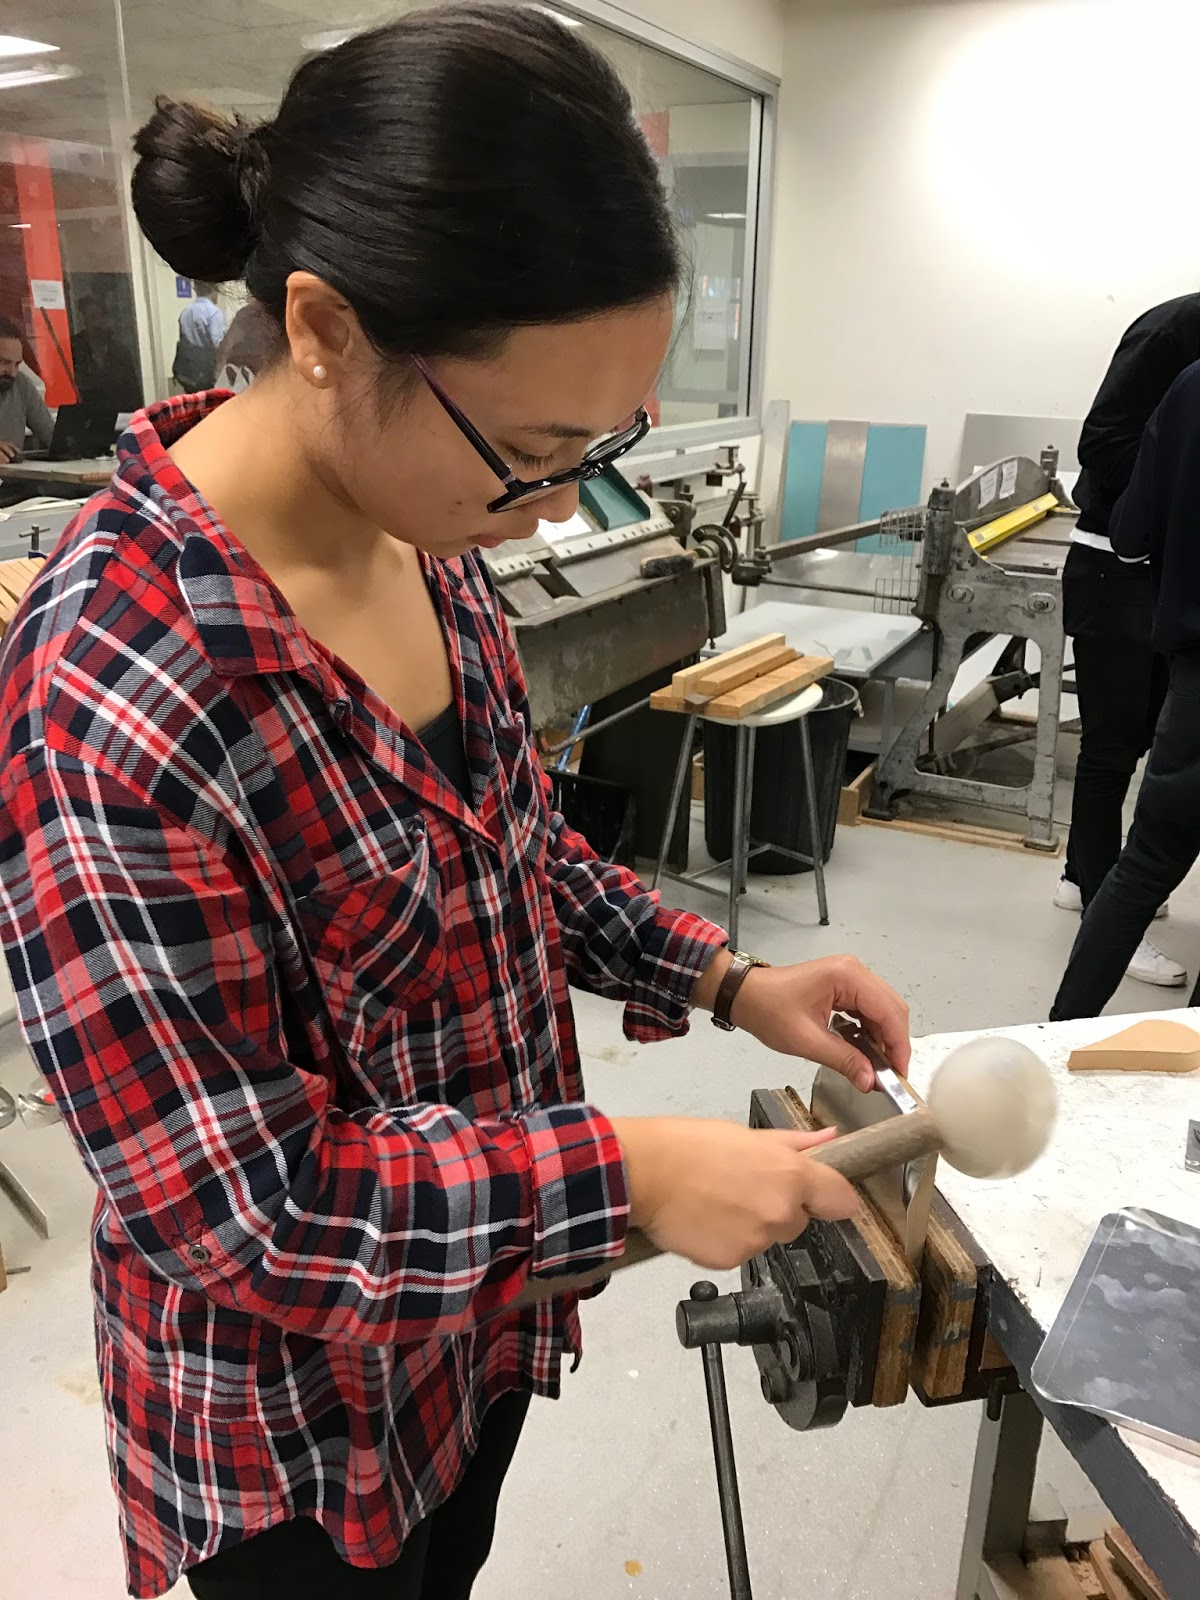
Step 6
Start hammering down the sides of the tray using a mallet. I found that it was easier to hammer down the two edges next to the corresponding corner first and then gradually make your way around that corner. This would ensure that the shrinkage of the metal would only occur around the corner with minimal disturbance to the flat edges. By doing this gradually, it this would prevent any kinks and overlapping to occur.

Step 7
Cut off the overhanging corners using tin snips.


Step 8
Compare with partner to ensure that you are both on the right track. Ensure that both trays are of similar shape and size.


Step 9
Fix up any parts that need amending in order to match up with partners tray. Define the edges, making sure they have around about the same radius throughout. Ensure that the walls are flat, pressed up against the template. This may mean that the template could get stuck in the tray so using timber that has a greater thickness than the wall thickness would make it easier to remove.

Step 10
Sand down the edges to create a flat surface. This would ensure that the surface of the perimeter is consistent all the way around.

Step 11
Final comparison


Final Product


Tips
Don't use a flat metal hammer as it creates harsh dents onto the aluminium piece. Instead, use a rounded plastic mallet as a better option. This creates less damage on the aluminium.

Make sure the piece is secured tightly in the clamp, to prevent it from moving around after each hit.

Make sure you are confident in hammering and don't second guess your process by continually removing the piece from the clamp and away from the template. This reflects on the result of the tray making the walls uneven.

No comments:
Post a Comment